


-
Cornhole!
See below for instructions on how to build your own custom cornhole set.
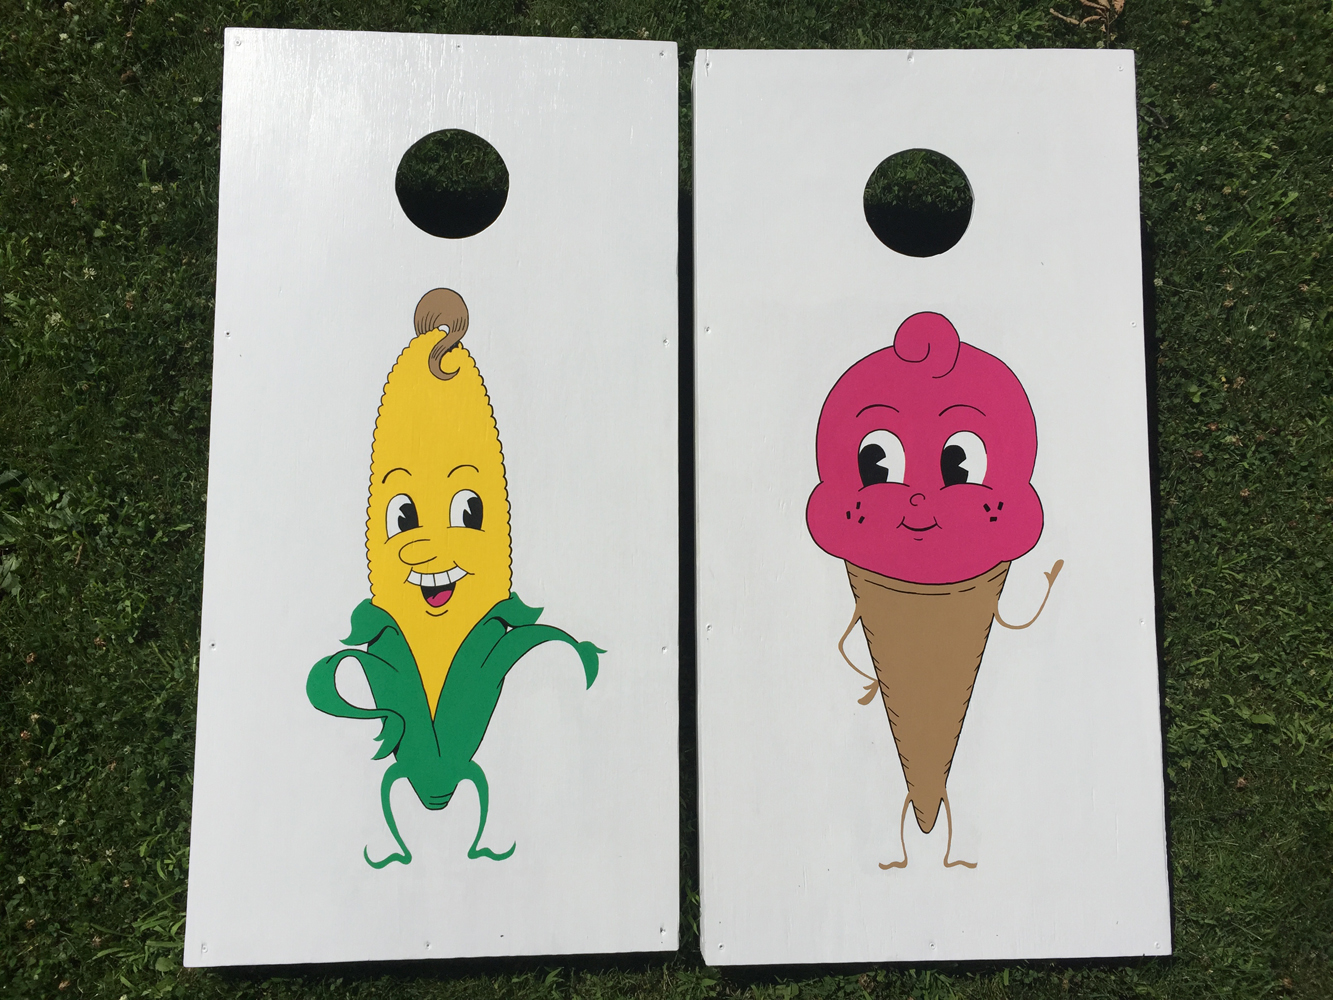
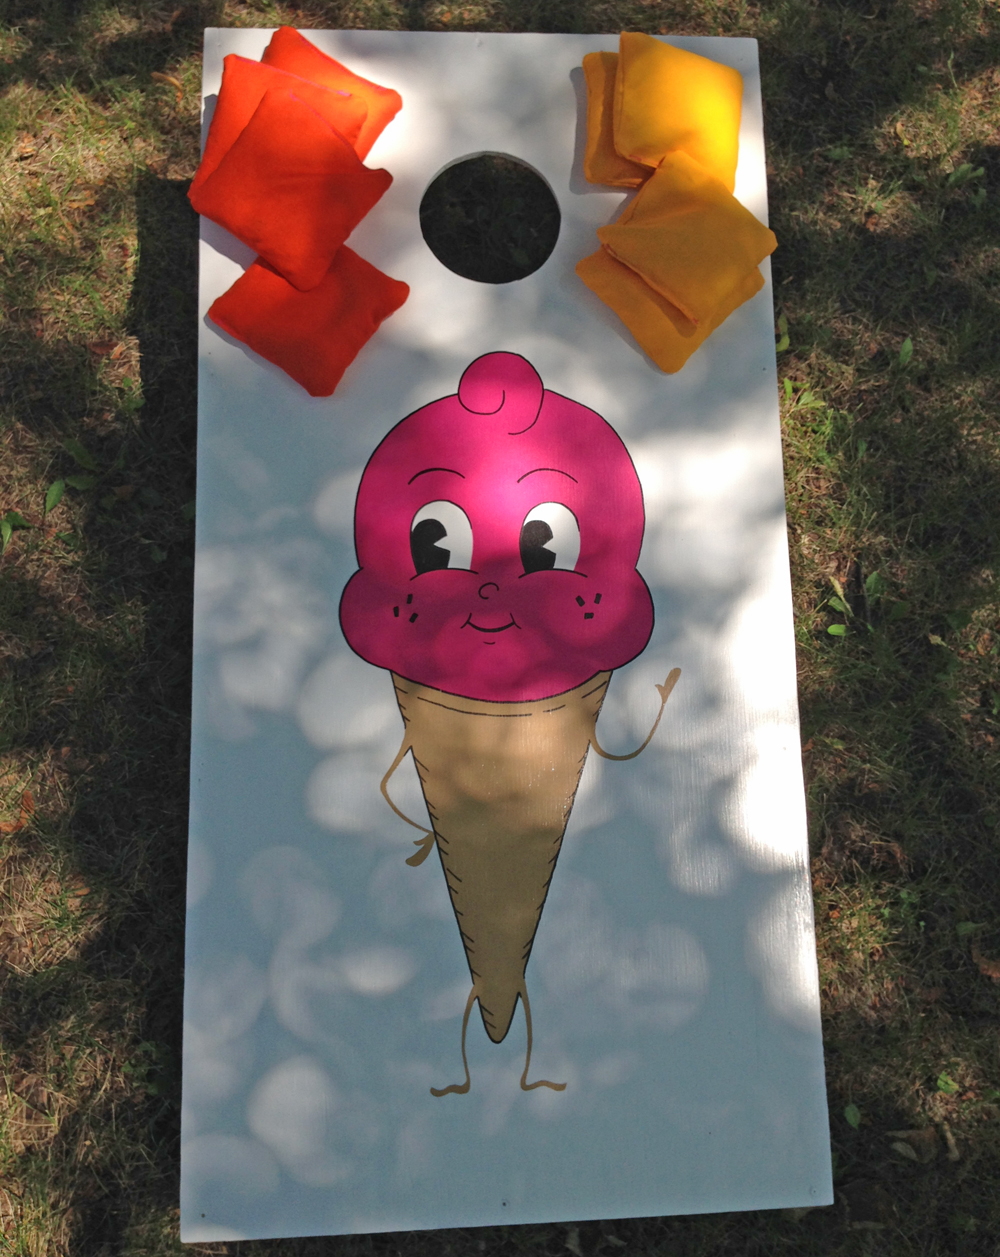
The game of Cornhole is ubiquitous in yards and on patios during the summer in Minneapolis. It's great because you can hold a beverage in one hand while you play. You may call it Beanbag Toss, but according to the American Cornhole Organization, the bags must be filled with feed corn or, better yet, resin beads. My father-in-law built these sets, my wife sewed the bags, and I painted them (click to enlarge).
HOW TO BUILD A CORNHOLE SET
Click here for CORNHOLE SET BUILDING INSTRUCTIONS
Click here to SEW YOUR OWN CORNHOLE BEANBAGSPart 1: The Food Doodz
My process for painting a crisp, durable playing surface:
I sanded all sides and corners until there were no sharp edges. After wiping away all the dust, I primed with two coats of white Kilz. Once that had fully dried, I transfered my designs onto the boards using a 24 x 36" sheet of carbon paper. That is about the size of the workable area of plywood below the hole, but my characters are only 30" tall.
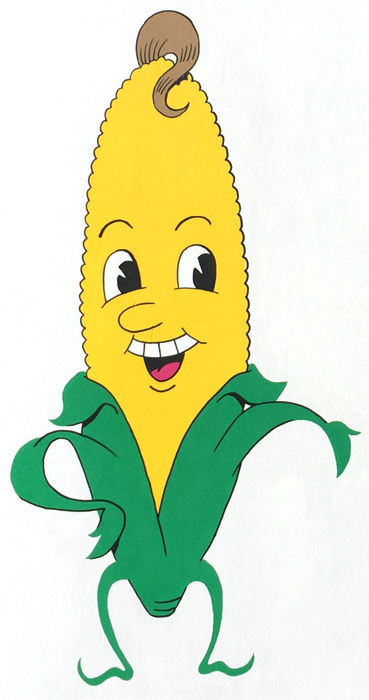
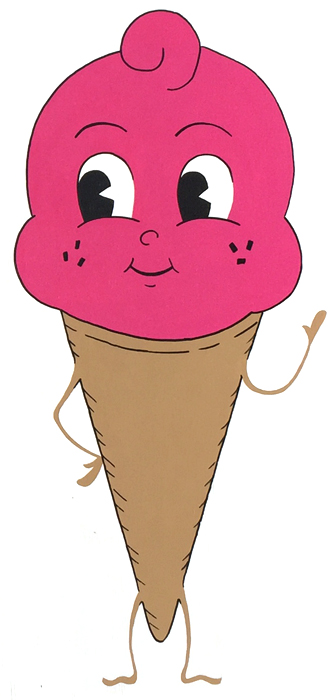
I then laid down two coats of the yellow and the tan colors on their respective boards, using 1-Shot sign painters' enamel. This requires good ventilation. I repeated the process with the green and pink (and the corn's tan "hair"), then filled in the whites of the eyes and teeth, as well as the rest of the surrounding board. For the white I opted to use high-gloss interior/exterior latex house paint, which I already had, rather than buying more 1-Shot. Since I was painting all the colors directly to the primer, it seemed safe to use these different types of paint.
After the white had dried, I used a black Durocolor paint marker for the outlines, and painted in black enamel for the irises and the corn's mouth. Finally, I sprayed the designs with two coats of Krylon UV-resistant clear coat, because even after drying, I noticed that the paint marker lines, laying on top of the glossy enamel, would still smudge if I really rubbed them.
All coats and all adjacent colors were allowed to fully dry before recoating.
I used 1-Shot sign painters' enamel because I knew I could get nice crisp edges, I knew it would be durable, and I was able to buy small jars of bright colors. It looks great; it is even glossier than high-gloss house paint. Of course, these designs need to stand up to repeated blows from lofted beanbags (and from childrens' feet). After many hours of use, the paint on these boards has not scuffed or smudged one bit, and it can be wiped clean from dirt pretty easily. I'm thankful that I was successful using some materials I already had, since it saved me money.
Next time I will use a small brush to paint most of the outlines with black enamel, since a line of varying width is more my style than the paint marker's unvarying one.
For the curious, here's the advice I received from 1-Shot on how to hand-paint a cornhole set using professional sign-painters' materials:
If you're looking for my recommendations for optimum durability, I would recommend using our 4411008 Primer on the plywood, although 4403101 Metal and Wood primer would also be acceptable.
Follow that with two (2) light-to-medium coats of either 1 Shot Lettering or Background Enamel (2 light coats will offer better durability than a single heavy coat), and finally, paint your graphics with 1 Shot as well.
If you're looking for additional UV resistance, you can (after the paint has dried for a couple of days) use one of our GraphiGuard UV Resistant Clears, available in both gloss (4331020) or Matte (4331030) finishes.Part 2: The Retro Plaid Design
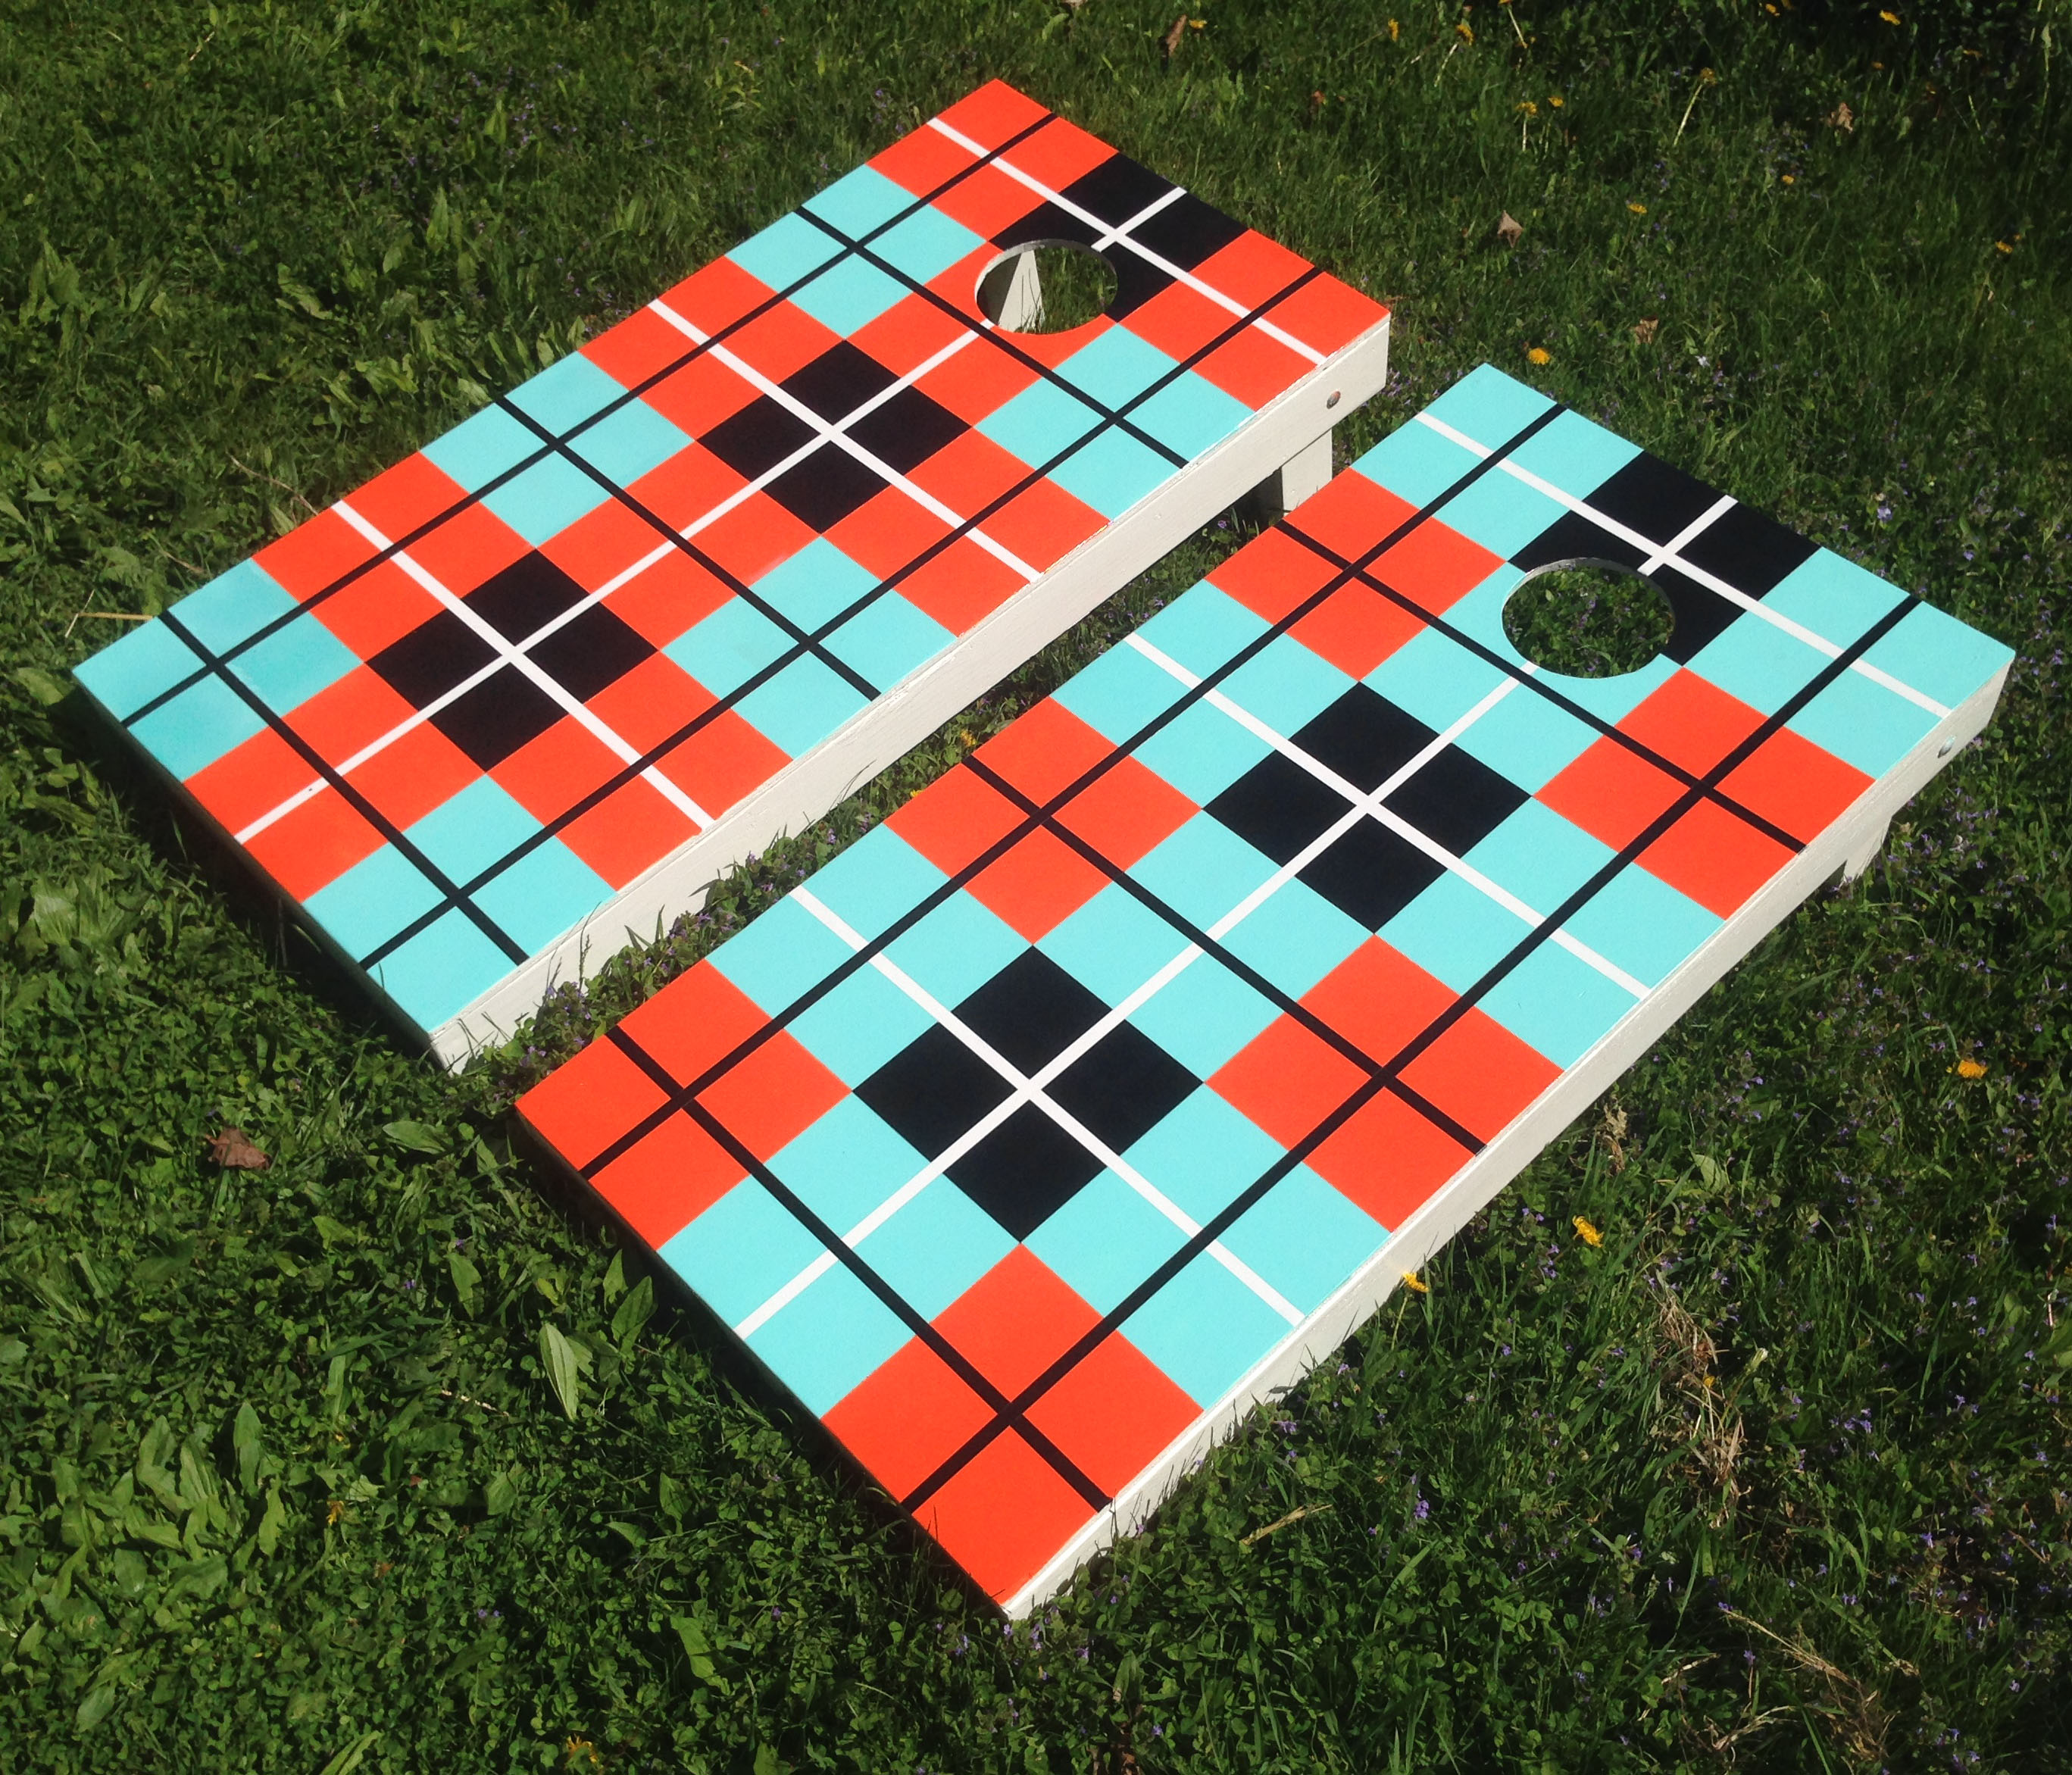
Creating a geometric design with masking tape and spraypaint:
The idea seems simple. With a little planning and care, it certainly can be.
Basically, you can only apply one color per day, and probably not every area of that color at once. You'll mask one area (or several separate areas of the same color) with tape, spray the color, remove the tape, and then wait for the paint to dry completely before you tape off your next area.
Always use 3M-brand tape. No other brand comes close to achieving the nuanced functionality of 3M tape. Others might be stickier, but could leave a sticky residue, or pull your paint off with it. I used 3M's blue painter's tape, and it has the perfect balance of adhesion and clean removal, even after being stuck on for weeks. Really burnish the edges of the tape with your fingernail or something like a plastic putty knife. More on this below.
I used newspaper to block off large areas, and just taped the edges. Make sure you tape any edges between sheets of newspaper as well, as the spraypaint tends to drift into those cracks. Lots of newspaper is handy to have on hand for covering anything nearby you don't want painted.
After applying a coat of spraypaint onto your masked area, wait 15-20 minutes and then remove the tape while the paint is still tacky. Peel it with a single, smooth motion at a 90-degree angle from the surface. Now, the painted area must dry completely before placing masking tape on it, so let it dry twelve hours, or whatever is recommended.
My biggest tip in creating this type of painting: spraypainting layers using masked areas creates slightly raised ridges where the colors meet, and the ridges get more and more pronounced with each layer. So if you look at my plaid design, my final layers were the narrow black bands that overlay all the other colors. After I painted a band and removed the tape, where the bands cross the borders between the orange and the aqua, I saw that black paint had bled beneath the tape in the corners created by the adjacent colors.
I was able to touch it up by spraying a little pool of the correct color in a jar, and painting it on with a brush. But how to prevent this tedious step? Making sure to burnish those tape edges, paying special attention to the ridges, goes a long way toward avoiding this seepage. You wouldn't want to sand down the ridges if you're trying to maintain a glossy finish. Perhaps burnishing the painted ridges would help. If I discover the answer, I will update this page with the info.
 Seeger
 Matt Von Ohlen
 Grand Theft Autobiography
 Tom Cruise
 Feast of Wolves
 George Banks
 Cornhole
 Johnny Apple Treats
 Macbeth
 Will the Thrill
-
 Lasso of Truth
  Ogre Mage
 Tom's Pots
 Hard Travelin'
 Origin Story
 The Mill
 Christina Ham
 Flesh & the Desert
 Scenic Map
 Fudge Pops
 Canned Food Product
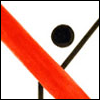 Special Offer
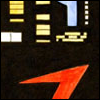 Katana
 Journal of Law & Social Deviance
 A Short Play
About 9/11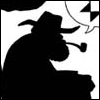 Glyph
Glyph Little Eyes
 SEACC
SEACC Chimera
 Twins Sign
 Danny Friedman & the Beastman Band
 World Peace & Prayer Day
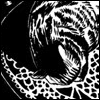 Bookplate
for My Wife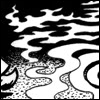 Bookplate
for My Dad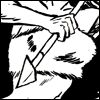 National Fantasy Fan Federation
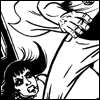 The Sense of
What Should Be Planting
Shelly Anne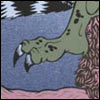 Heliotrope Festival
 Forgetting
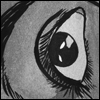 Aby Wolf:
Sweet Prudence Aby Wolf
at the Entry Kirby Machines
 Skoal Kodiak & Knife World
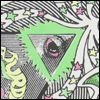 Clipd Beaks at Memory Lanes
 God Save Gertrude
 It's Called a Mind
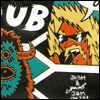 Clipd Beaks
at the Turf Club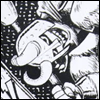 Clipd Beaks at Bedlam Theater
 Being Alive is So Awesome!
 Clipd Beaks
at Big V's Clipd Beaks at the Kitty Cat Club
© 2006-2017 Jacob Stoltz.
Search the site: